The 3 “P’s” - Photos, Printers, Papers…
Mission
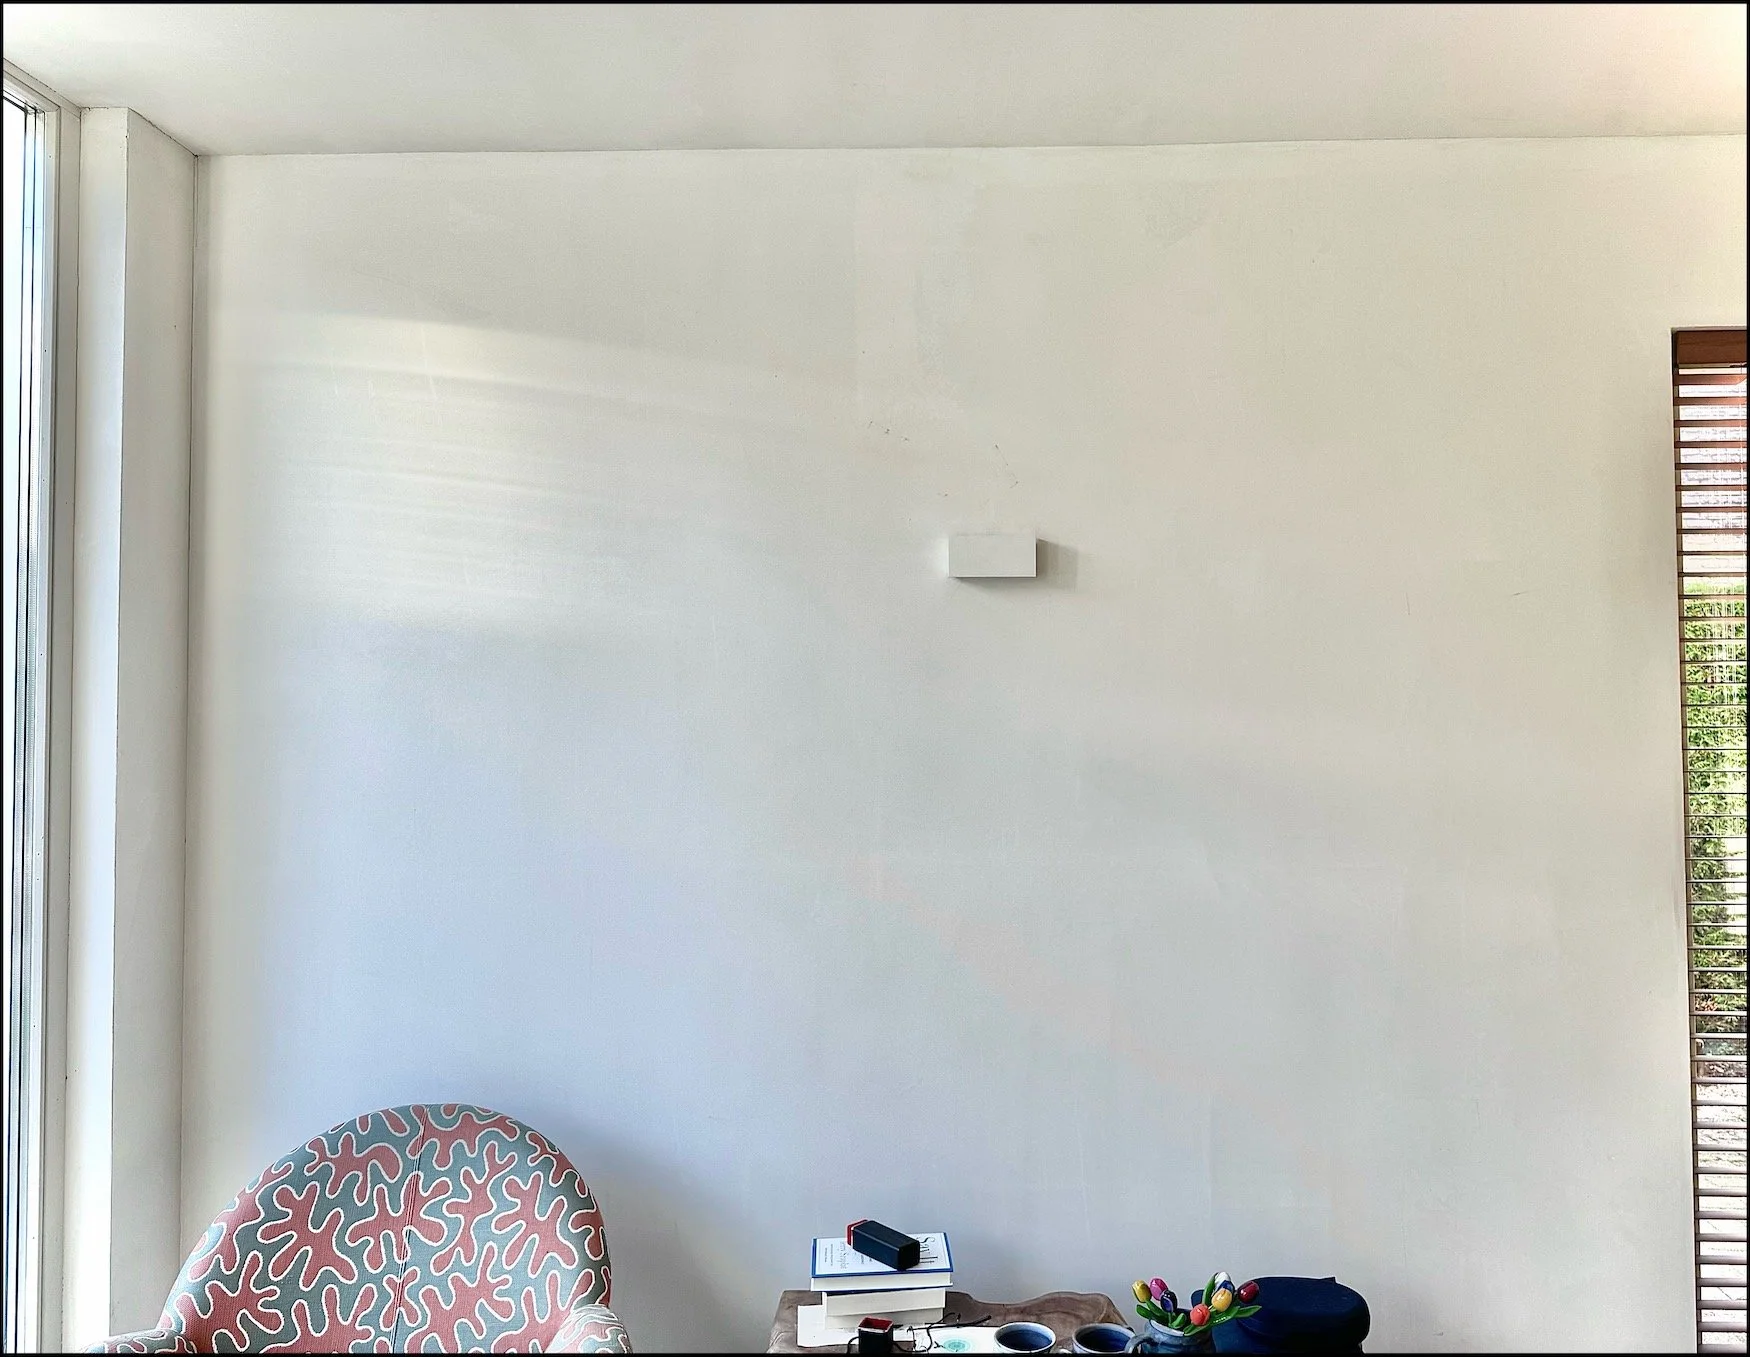
To have some of my images hanging on a (currently) blank wall in the house!
I certainly have photos! Check. But virtually all of them gathering digital dust sitting on hard drives. I have few tangible physical prints of images that I think could look well hanging on the wall above.
Which started me on a journey…
Truth be told, I started on this journey months ago.
I’m not usually this slow on making decisions but there were many to be made.
The primary one - who was going to do the printing here? I could easily walk down the main street in town and come back an hour later with “speedy print” images under my arm from the local photo shop.
But given that I’ve gone to quite some length in investing in cameras, lens, some knowhow, never mind time spent editing the images in Lightroom - it seemed a bit “quick and dirty” to commit the final process to an anonymous machine in some street shop and still be proud of the result hanging on my wall.
The other alternative of course would be to provide print-ready TIFF’s to a specialist print place (of which there are many great ones around) and ask for these images to be printed on specific fine-art paper. This is the route I have gone down previously when supplying prints purchased from my Store.
I remember well, however, sitting alongside my father in his home-made darkroom in the attic. Watching the whole process of transforming film negatives to images where they magically appeared on white sheets of paper in a tray of chemicals. Disengaging from the final print process by handing it off to a specialist lab always jarred me as being a poor testimony and memory of this treasured time with my father.
And so I decided to go down the road of investing in a printer, discovering different paper types, and to be in control of the entire process from the taking of the initial photograph, to post processing, and to finally printing.
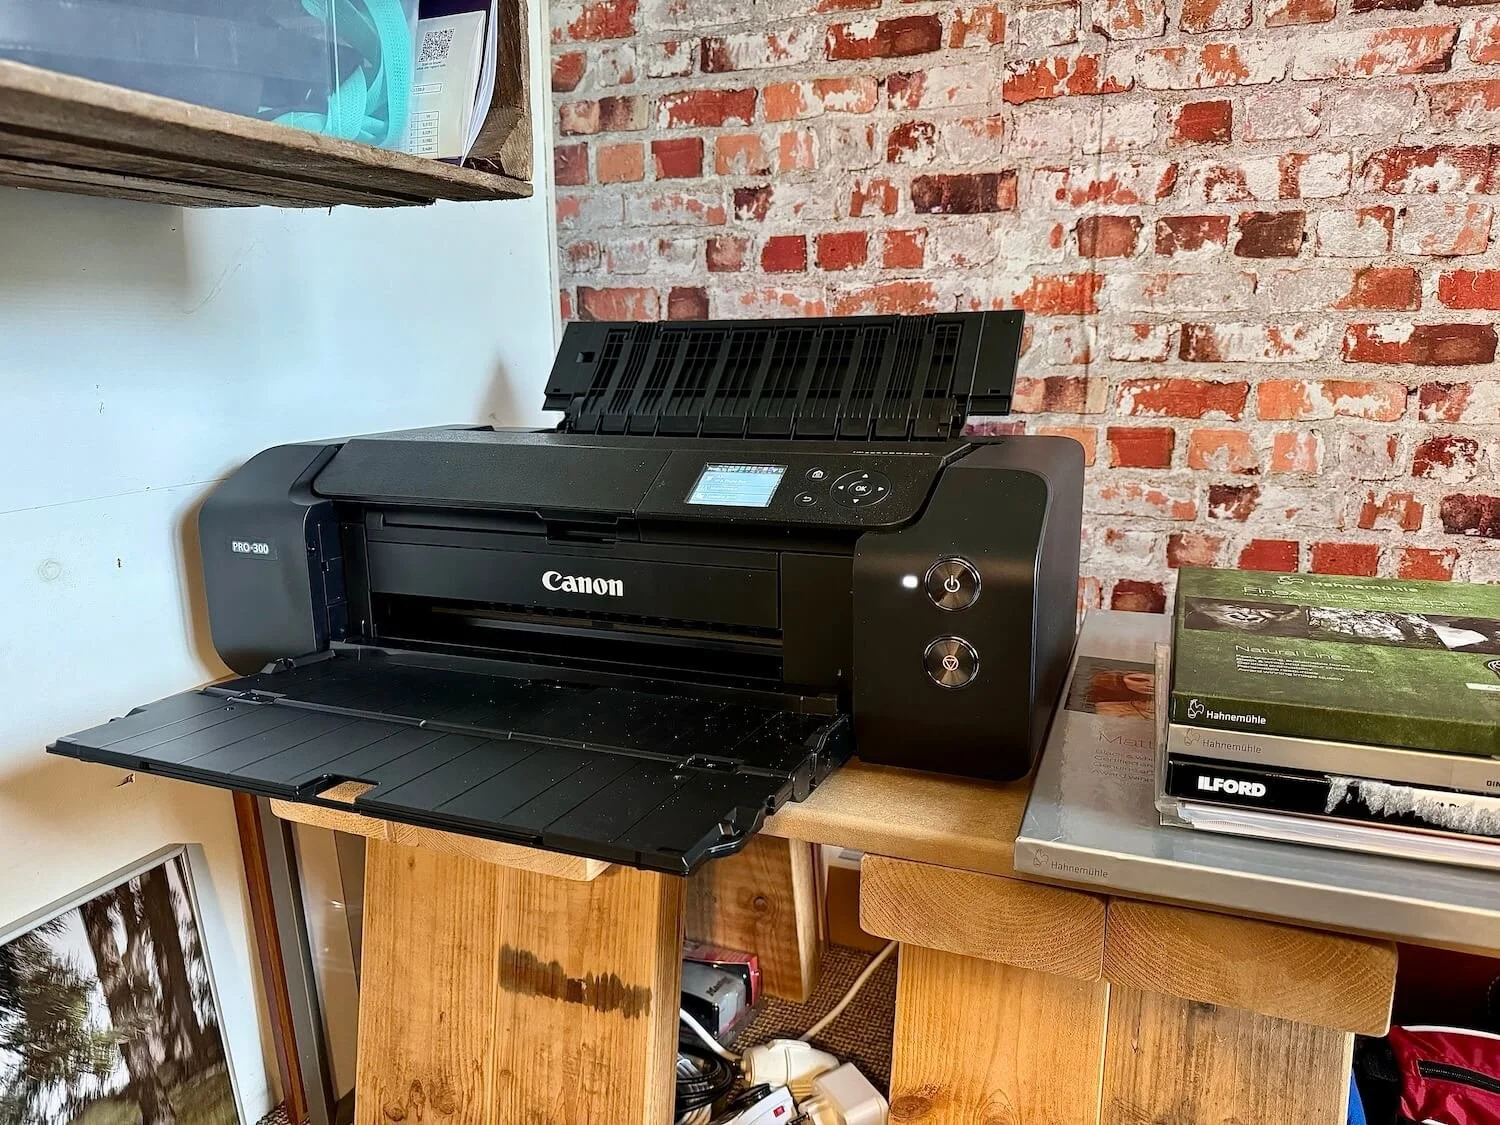
Far too many YouTube videos later, I decided to invest in a Canon ImagePROGRAF PRO-300 (as the PRO-1000 was outside my budget and would take up just too much room in my tiny office studio!).
This printer takes 10 pigment inks giving up to A3+ size professional and archival prints. Ultimately it was a toss-up between it and the Epson P700 but my experience with Canon products over time won the day!
So I now have a printer. Check.
But what types of paper to print my images on? Again, some more YouTube videos, swayed however by my already leaning to Hahnemühle FineArt ones for their variety, environmental sensitivities and local availability.
I finally decided to buy A3+ 308gsm Hahnemühle Photo Rag; the heavily textured 308 gsm William Turner at A4; and the Natural Line 290 gsm Agave (again A4). All of these FineArt papers are certified by independent institutes to be highly resistant to ageing (over 100 years), vegan, OBA free etc etc.
Paper - check.
The reality is though, it’s not just a matter of inserting the paper into the tray and pressing “print”. Paper profiles (ICC) need to be downloaded from the website of the paper manufacturer / supplier and uploaded so your photo editing software (Lightroom e.g.) can recognise which types of paper you are intending to print on. Additionally Canon Prograf series printers allow for the addition of "custom media types" into the printer's firmware and driver. For specialty media such as the papers I bought, using AM1X files provide important information to the printer such as platen gap and feed adjustments for optimal quality. Hahnemühle make all these files available for each paper type they produce.
Slowly, slowly, I’m getting there - some test runs looking good…
And back to my mission where it all began!
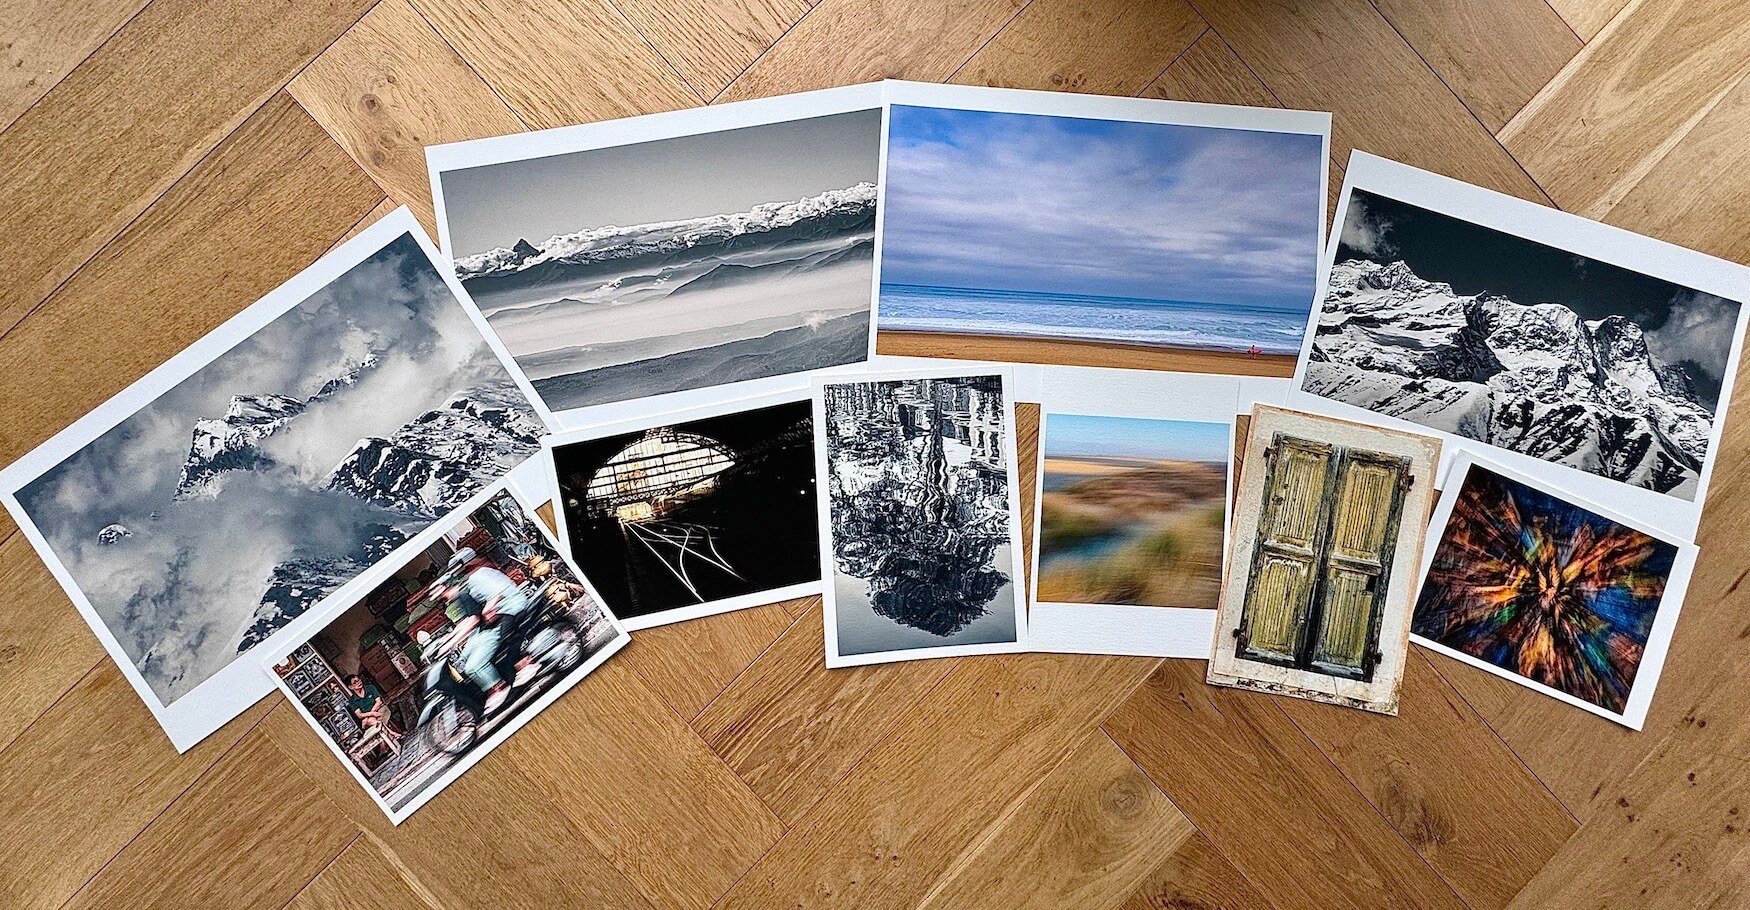
I chose 10 images to start with. Some of these may well not make the “Final Cut” but it’s a good place to begin.
You can click on any of the image squares below to enlarge
I printed the mountain landscapes on A3+ Photo Rag. They look great! Hahnemühle say their Photo Rag is one of the world’s most popular papers and the valued all-rounder for high-quality FineArt inkjet printing. I can see why.
I printed the moving scooter (scene from Hanoi, Vietnam) and the train tracks images on the beautiful “Natural Line” Agave paper - slightly textured and rendering gorgeous colours.
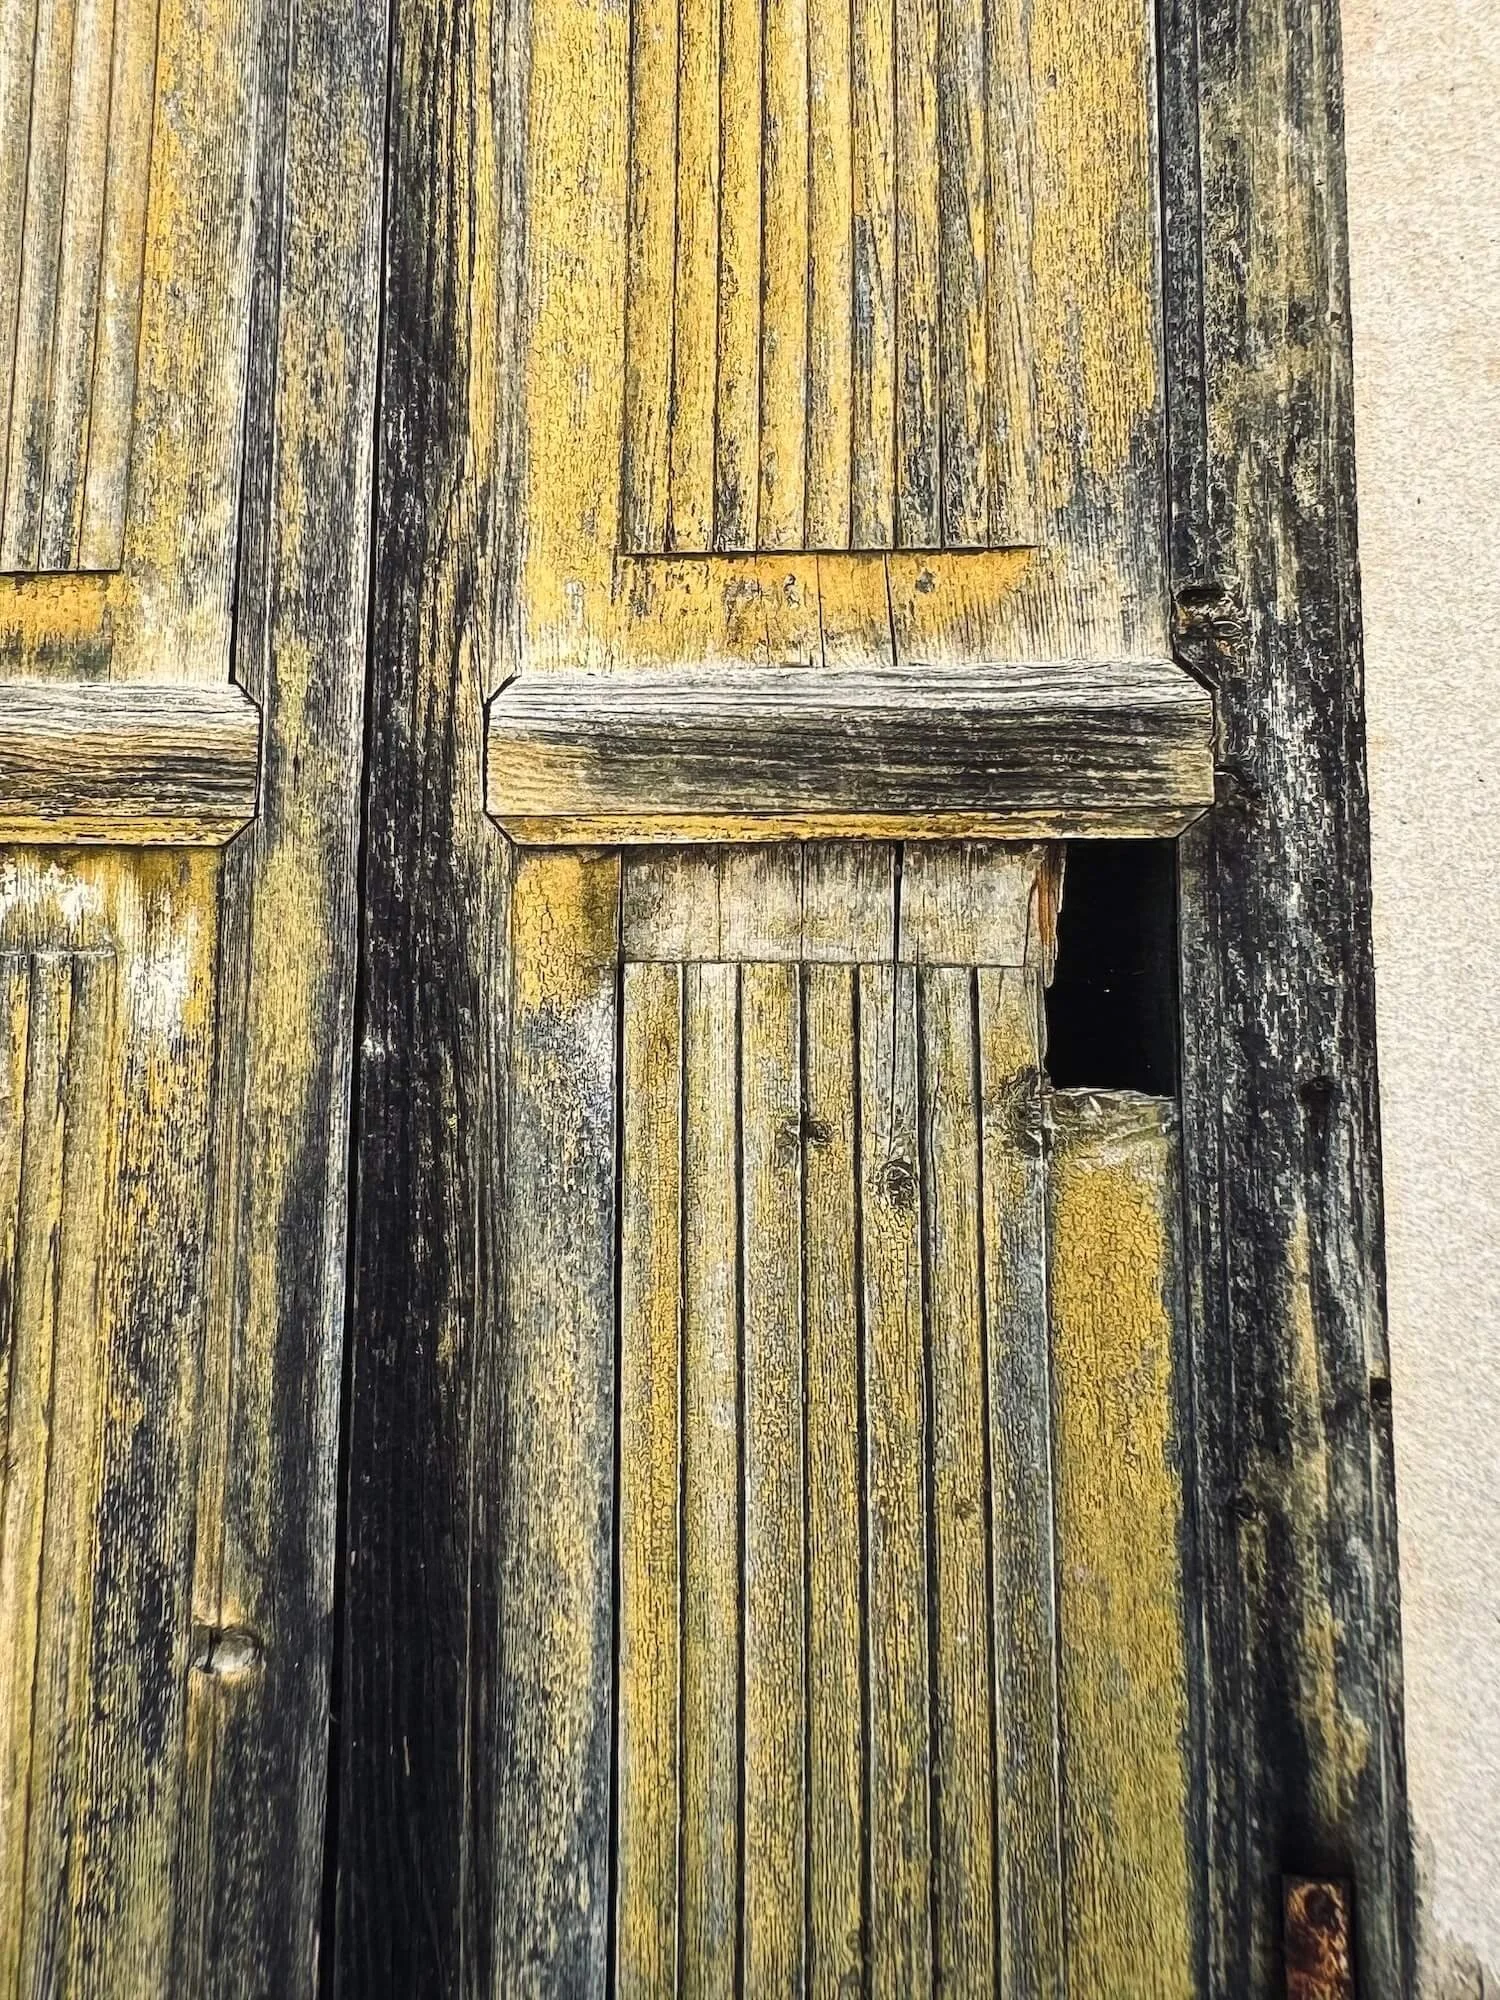
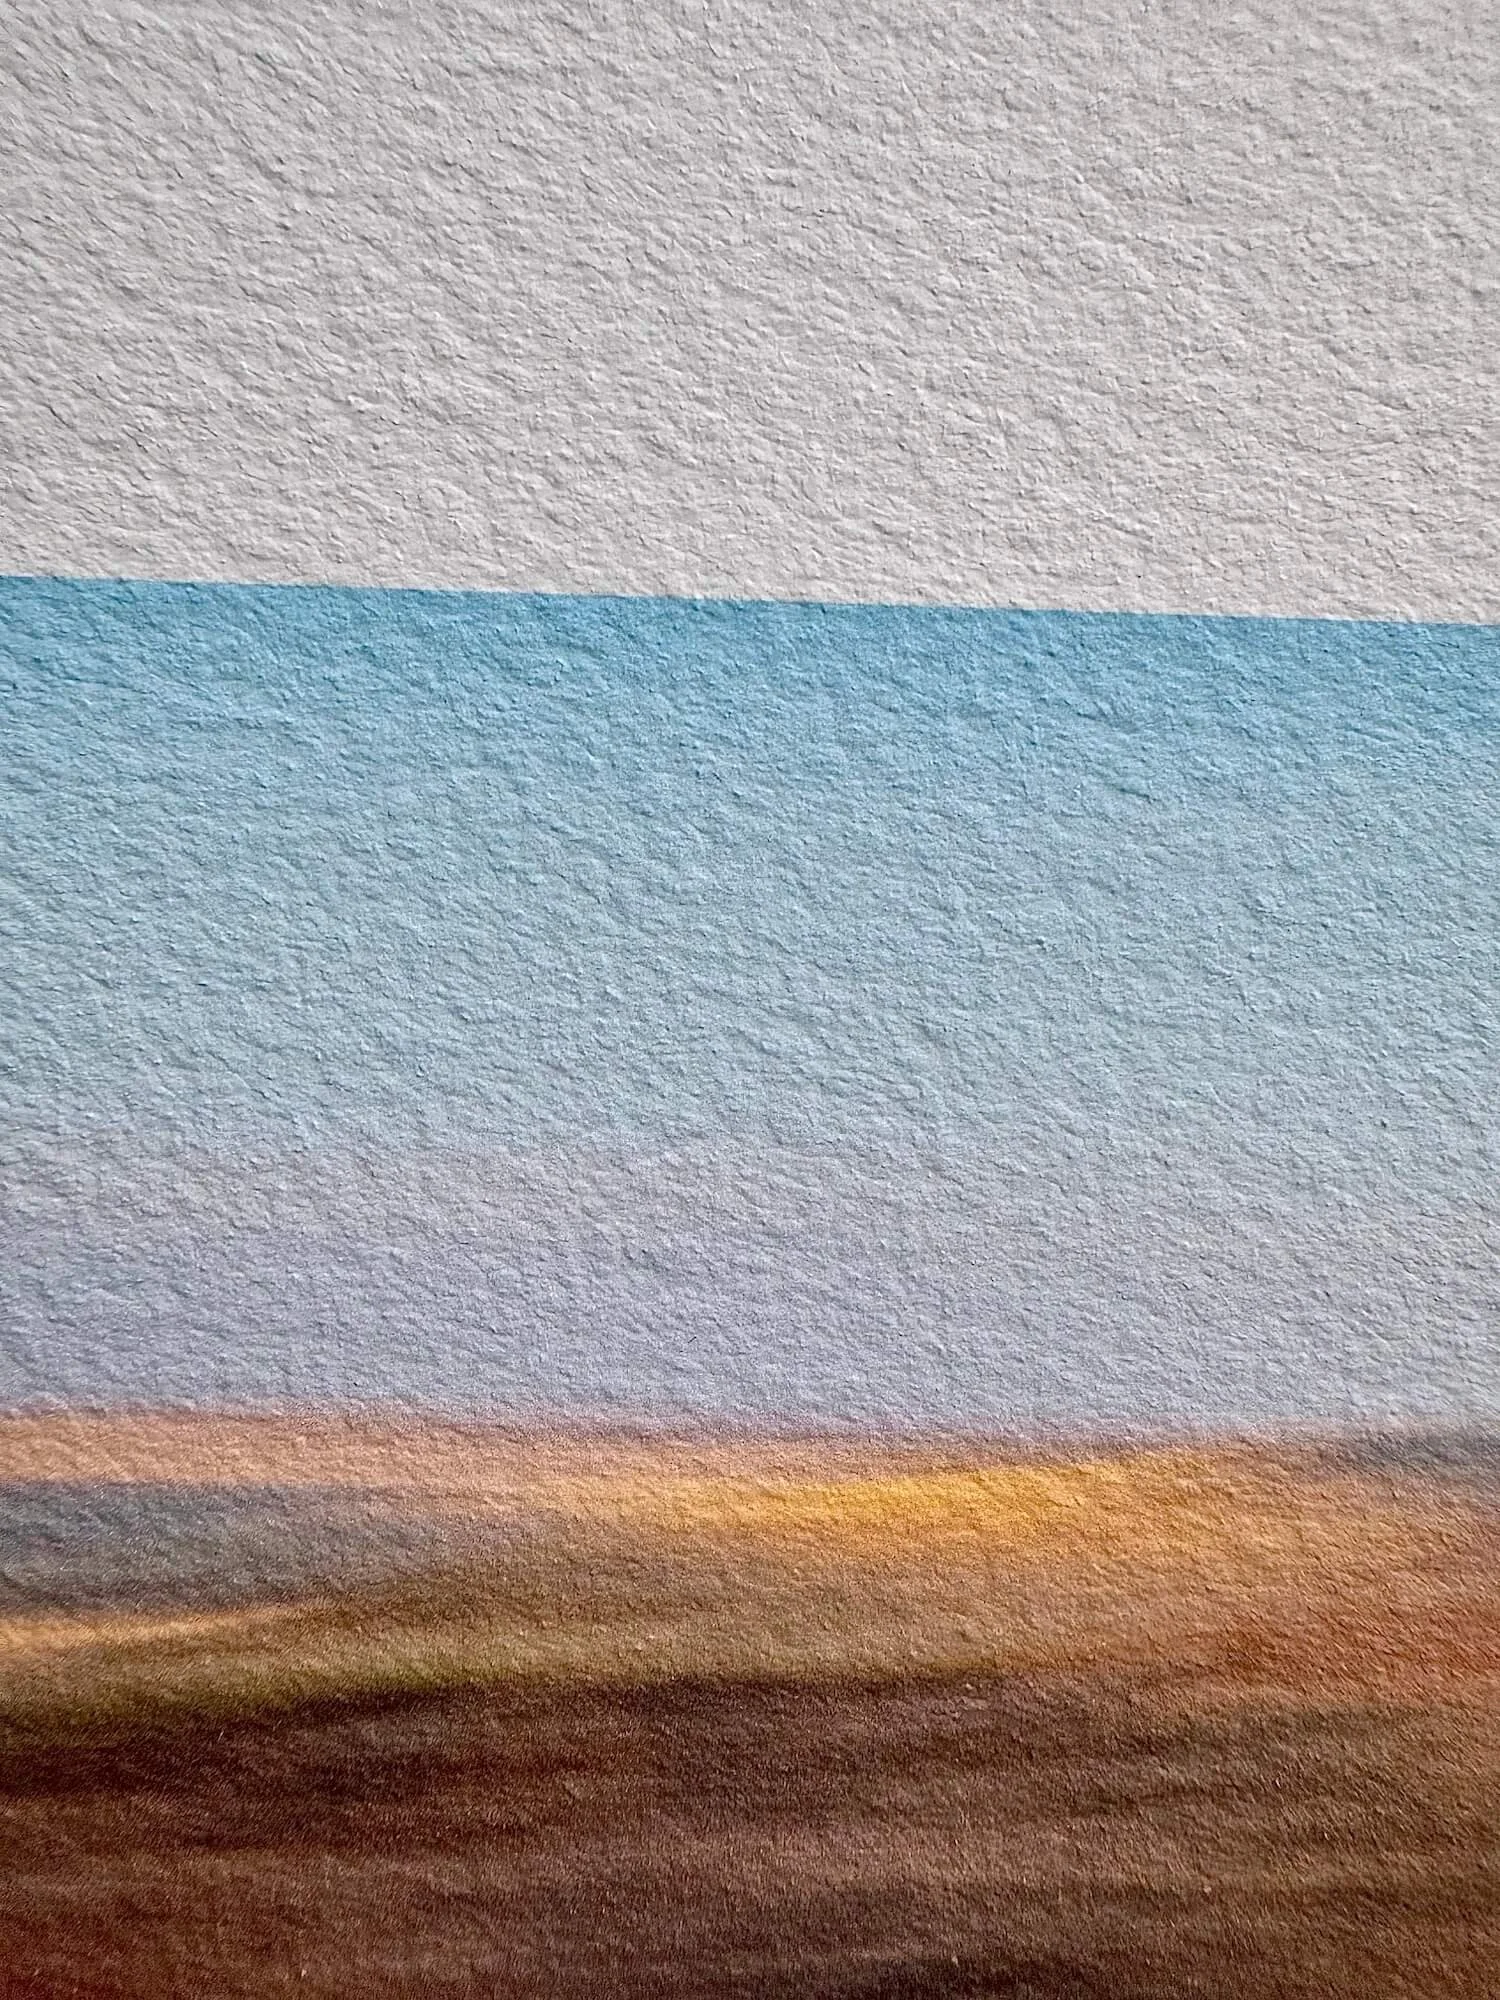
What really blew me away, however, were the images I printed on the William Turner paper. I chose the icm (intentional camera movement) sand dune scene and autumnal leaves images as well as the fading glory window shutters for this textured paper. There is “texture” in all these images to start with but physically feeling this in the printed paper is just amazing. My favourite of the three is the one of the wooden shutters. This was taken in some lonely Italian village I was passing through a while back - but without my camera. Thankfully my iPhone came to the rescue (shush…!).
A close up of this image printed on the heavily textured Hahnemühle William Turner 310 gsm, 100% cotton Fine Art paper
A close up of the sand dune image showing the heavily textured Hahnemühle William Turner paper
A screenshot showing the texture of the William Turner paper, taken from the Hahnemühle website
And no, I’m not on a commission from Hahnemühle! But given my printing journey, I just wanted to take this opportunity of sharing my experiences to date.
The last thing now is to choose which images will best suit this wall and arrange for them to be framed. Not me - I have limits! More on that soon.
In the meantime, if any of you have questions or comments about my printing journey as described, I’d love to hear from you. Thanks for reading.

